Thursday, February 25, 2016

Picamera

I started working with my Raspberry pi 2 camera and during my research i found the following websites very useful:

--> how to connect camera to pi and how to unable camera and also have options like Shell (Linux command line) or Python for writing the commands. I used Python.

--> quick start guides on Picamera and some simple commands in python.


http://picamera.readthedocs.org/en/release-1.10/
--> some examples on how to use camera on raspberry pi using python

I wrote a program in python that streams the video on the monitor and also takes the number of images users enters and takes 15 seconds break between each pictures. You can also extend the break time.
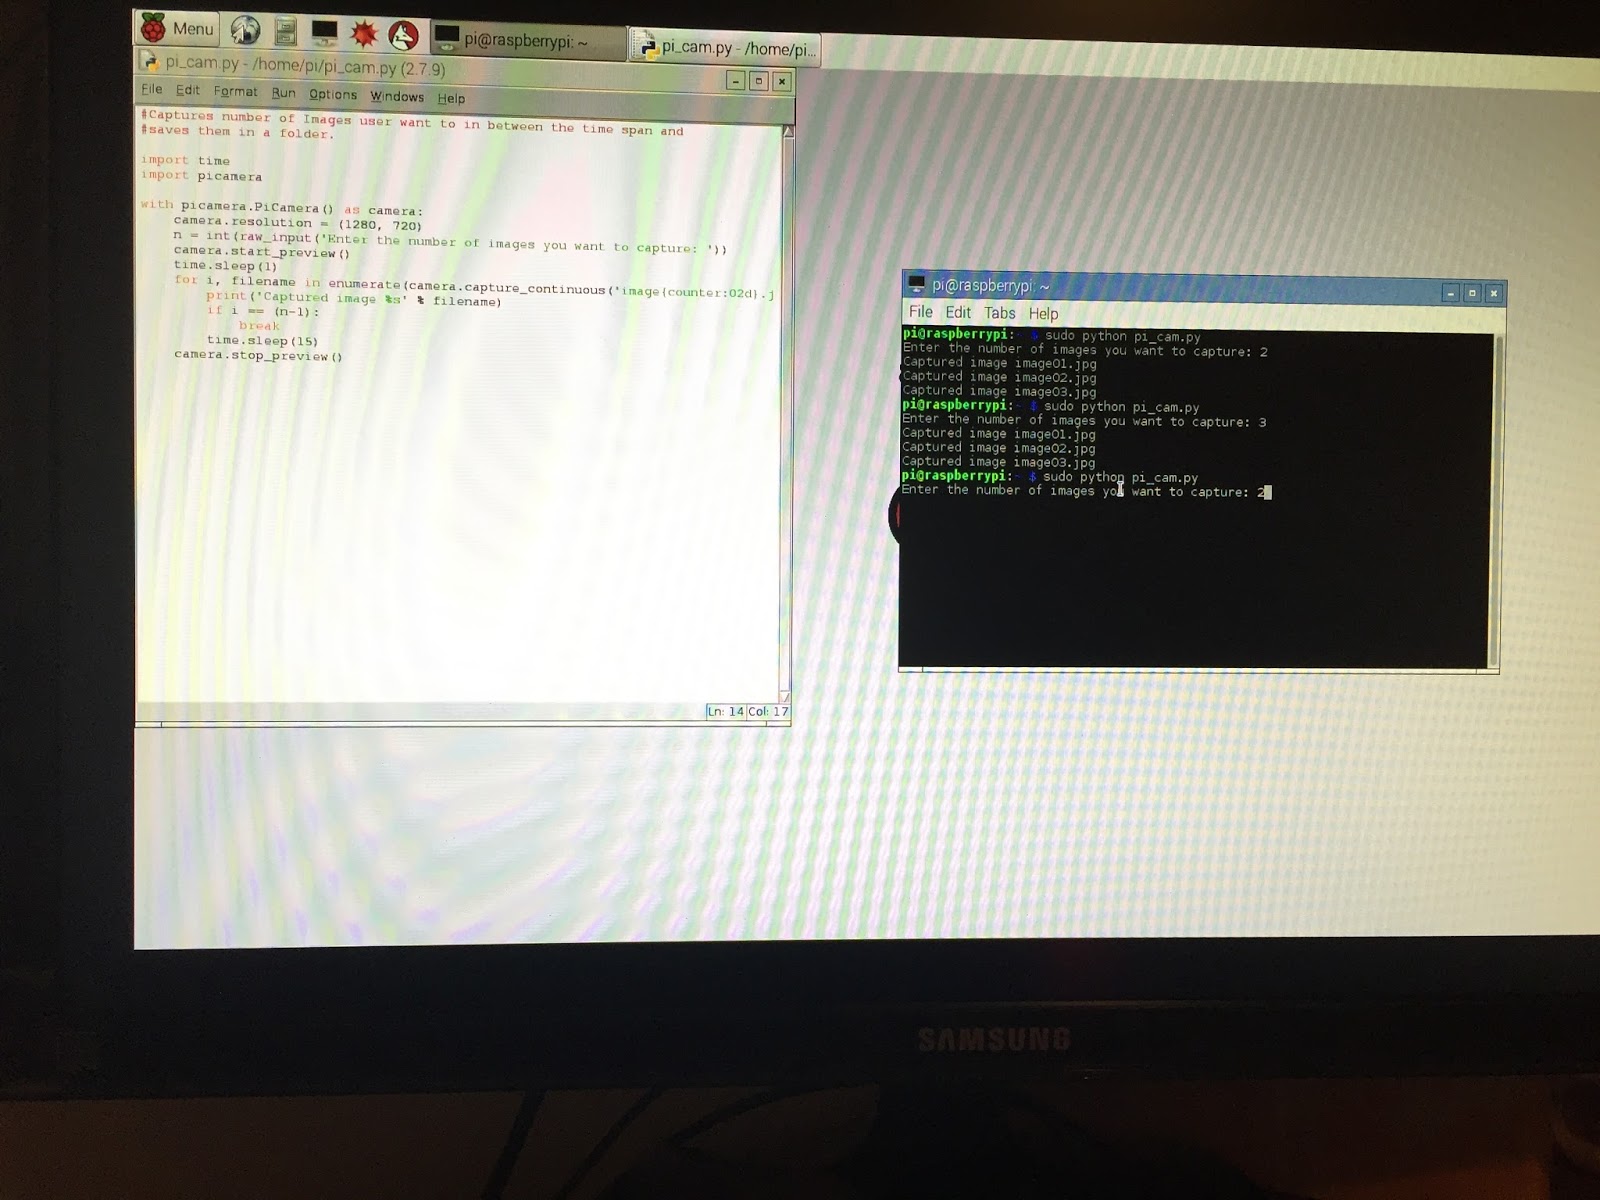


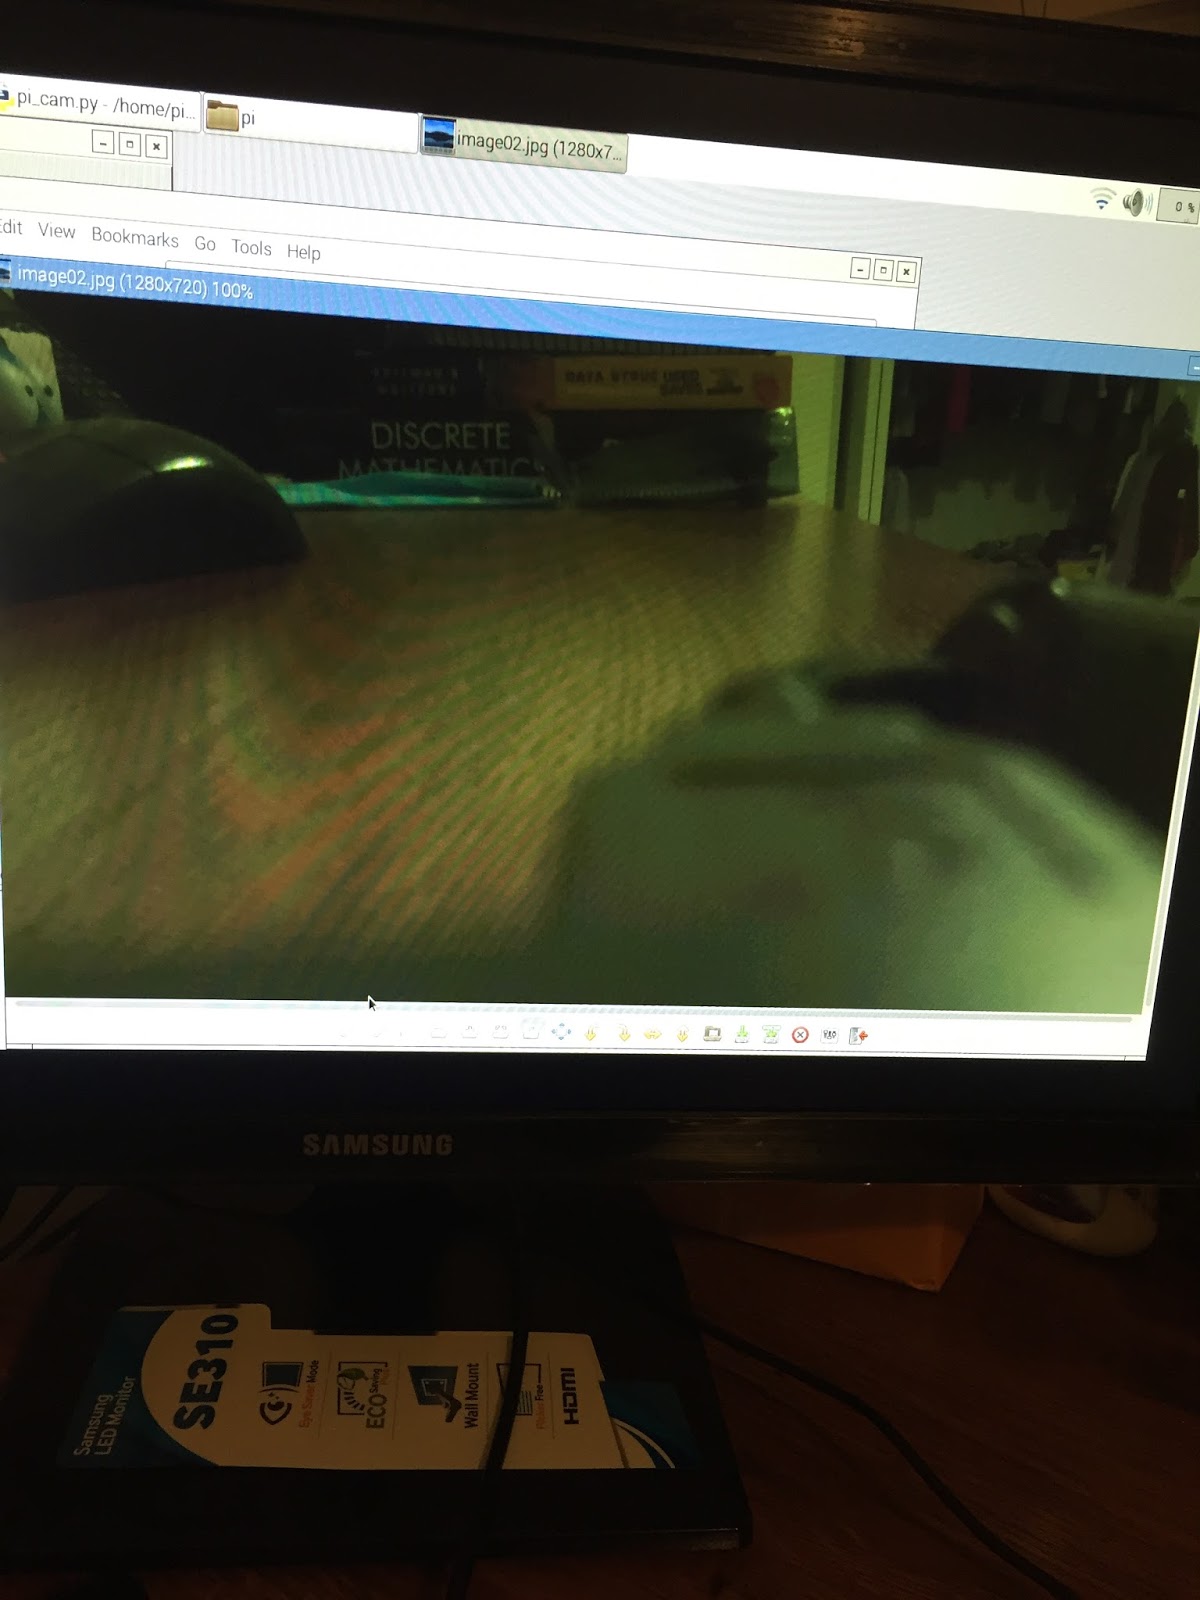


--> My step is to live stream the video to my raspberry pi and the face detection.


Monday, February 15, 2016

About Cisco95

My main intention to begin the blog is to keep track of my goals and things while I am building a robot (Cisco95) that can be operated by using my laptop. It can be used as video surveillance which gives the live stream on my laptop. It should also have a facial detection ability to.

My First steps:

I bought a rover kit, a camera and a range finder sensor.
      I am going to implement the camera and make the rover move in the next few days using the raspberry pi 2.

Rover kit:
          Small and inexpensive robot kit with a 30mm wide x 6mm high gap in the top support plate specifically for a RobotShop 3.7V, 1000mAh LiPo battery.

Ultra Sonic Range Finder:
    Power supply: 5V DC
    Ultrasonic Frequency: 40k Hz
    Resolution: 1 cm

IR Camera:
    A native resolution of 5 megapixel
    Smooth connectivity and live picture.


Morse code LED

For my Morse code LED project I wrote a code using python in raspberry pi that lets user enter a message in English and turns it into Morse code and prints it out in the terminal. The code also lets the LED in the LED circuit in the breadboard blink according to the Morse code.


The following is the GPIO pinout chart that helps wire GPIO pins in the raspberry pi:

The following is the Layout of my LED circuit:


The code that i implemented in python file:


The Demo:


Sunday, February 14, 2016

First Project

For starters I did the LED blinking project. I made the LEDs blink 3 times in a row.
Items needed:
 Raspberry pi
 Bread board
            Jumper wires
            Bread board wires
       LEDs (different colors or same color)

GPIO pinout chart:


The bread board circuit set-up for the LED blinking project:


To ensure the system has latest version of software, run the following commands in terminal: 


Create a python file named ‘quadled_blink_single.py’ on Raspberry pi and type in the following code and save it:


After that open the terminal and type:

Wednesday, January 27, 2016

Pi setup and basic commands

As soon as you connect your HDMI to the TV/monitor and insert your os installed MicroSD card into your pi you should see the following screen on your TV/monitor:

You can select the os of your choice and click on install. It takes few minutes to install and then the following screen appears:


The above screen is the graphic user interface, The default login for Raspbian is username pi with the password raspberry.
After logging in the following desktop screen appears:

You can click on the LXTerminal and type the following commands in console:
sudo apt-get install rpi-update
sudo rpi-update
sudo reboot


After rebooting, type the following commands in console:
apt-get update
apt-get upgrade

The following are some of the basic commands:
list files in current directory:                                                ls
list files (including hidden files) in current directory:           ls -a
change directory:                                                                cd
change to home directory:                                                  cd ~
change to root directory:                                                     cd /
change to different directory:                                              cd music
print working directory:                                                       pwd 
make directory:                                                                   mkdir
copy files:                                                                            cp 
move files:                                                                           mv 
remove files:                                                                        rm 
remove directory:                                                                 rmdir 
clear screen:                                                                        clear 
display a file:                                                                        cat 

Saturday, January 23, 2016

selection and setup of operating system

How to set-up your Raspberry pi:
1.     Begin by slotting your SD card into the SD card slot on the Raspberry Pi, which will only fit one way.
2.     Next, plug in your USB keyboard and Mouse into the USB slots on the Raspberry Pi.
3.     Make sure that your monitor or TV is turned on, and that you have selected the right input (e.g. HDMI 1, DVI, etc)
4.     Then connect your HDMI cable from your Raspberry Pi to your monitor or TV.
5.     If you intend to connect your Raspberry Pi to the internet, plug in an Ethernet cable into the Ethernet port next to the USB ports, otherwise skip this step.
6.     When you are happy that you have plugged in all the cables and SD card required, finally plug in the micro USB power supply. This action will turn on and boot your Raspberry Pi.
7.  My MicroSD card is pre-loaded with NOOBS into it. If you don’t have a pre-loaded MicroSD card then go to www.raspberrypi.org/help/noobs-setup to set up.

     As i stated above I had NOOBS operating system(os) pre-loaded into my SD card but there are different operating systems in https://www.raspberrypi.org/downloads/ which you can try to download but NOOBS is an easy operating system installer compared to the rest.

Saturday, January 16, 2016

Introduction

Purchased Raspberry Pi 2 Model B starter kit on amazon.com which Includes:
1.) Raspberry Pi 2 Model B Quad-Core 900 MHz 1 GB RAM with heat sink
2.) 8 GB Micro SD Card (consider 16GB, 32GB or more) optional: pre-loaded with NOOBS
3.) USB power supply (at least 2.5A)
4.) WiFi Adapter (dongle)
5.) HDMI cable.