I am a Computer Science Student at Delaware State University. I started this blog to document progress on my projects using Raspberry pi 2. Feel free to follow along and comment on any projects. Your ideas are welcome! Thanks.
The above clip shows the Cisco95 moving by following the commands and also giving the live feed on my laptop.
I connected my Rpi to my laptop using the remote desktop connection on my laptop. I used my Iphone's hotspot while connecting my pi and i am gonna keep using my hotspot when ever i use my pi connected to my laptop so that the IP address of my pi doesn't change ever time i login in different WiFi settings.
Steps to connect my Rpi to laptop:
1. Turn on your pi, your laptop and your personal Hotspot in your Iphone.
2. Connect your pi and laptop to your Hotspot by selecting your iphone from the WiFi settings on your laptop and your pi.
3. Enter the password when asked.
4. when all the desired devices are connected to personal Hotspot, type the following command in your pi terminal for the IP address:
Your IP address should be in the spot where there is a number highlighted with yellow highlighter.
5. Go to your Laptop, open the remote desktop connection and connect your pi to your laptop by typing your pi's IP address where it asks for computer and click connect.
6. Turn off the pi and turn it back on and see if the IP address is still the same. It should be the same anytime you connect your pi to your personal Hotspot.
I made the robot turn a 360 for starters: one motor moving forward and the other one moving backward.
I used a python code to make the robot go forward, reverse, left and right using specific keys on the keyboard. I also combined the distance finder code with the motors code to make the robot sense the distance every time i press a key for it to move.
I built a compartment on top of the rover which stores the battery, breadboard and motor drive controller board. I used a cardboard box and made wholes on the top and sides for the wires to pass through. I screwed the cardboard box to the rover on the bottom.
I used the Ultra Sonic Range Finder to help the robot detect the obstacle.
I connected the sensor to my Rpi using the bread board, 2 resistors (1k) and some male to female jumper wires. I also wrote the below code that detects the obstacle and outputs the distance from the sensor to the obstacle.
I wrote a python program using the OpenCV which detects the face and takes a picture of it. I included the above command in the python file to give the live stream and use it for facial detection.
I installed Gstreamer and OpenCV in my raspberry pi for the video surveillance and facial detection:
I got the code for OpenCV from:
http://askubuntu.com/questions/537268/installing-opencv-in-ubuntu-14-04
The following link have a data for the xml file:
https://raw.githubusercontent.com/shantnu/webcam-face detect/master/haarcascade_frontalface_default.xml
For Gstreamer installation:
sudo apt-get install gstreamer1.0
--> how to connect camera to pi and how to unable camera and also have options like Shell (Linux command line) or Python for writing the commands. I used Python.
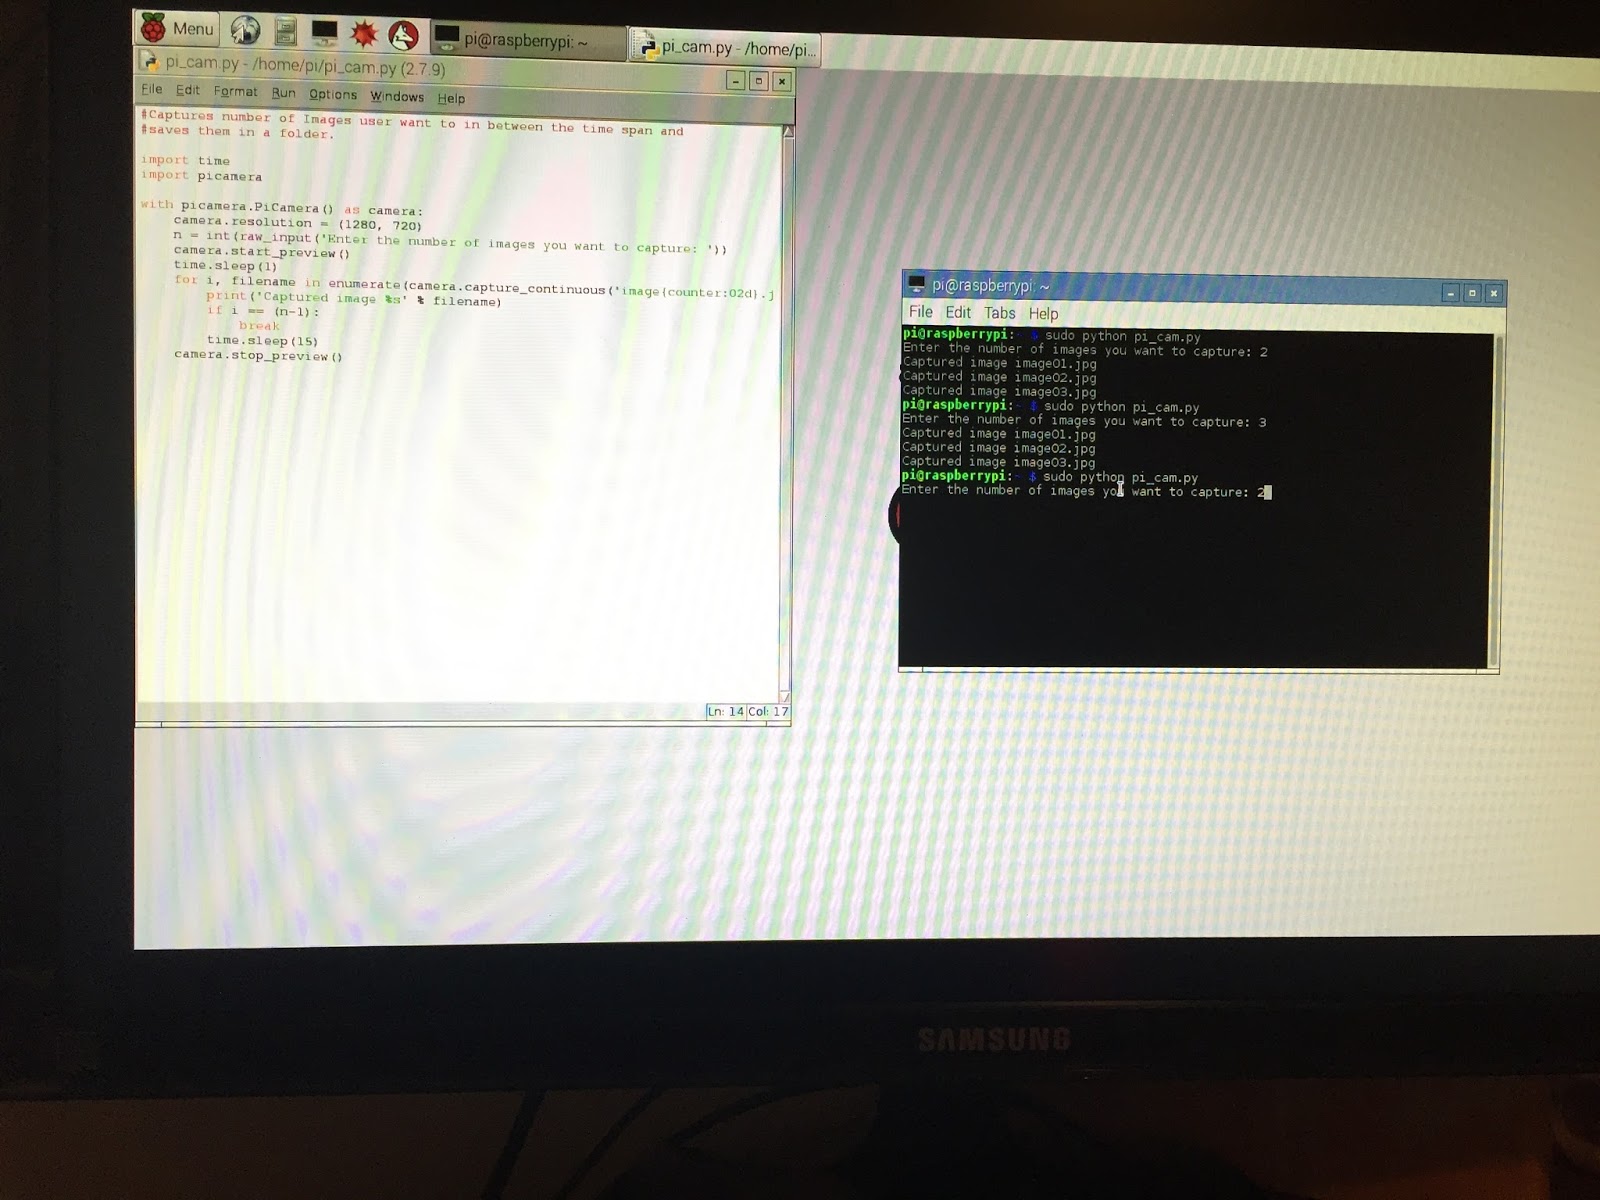
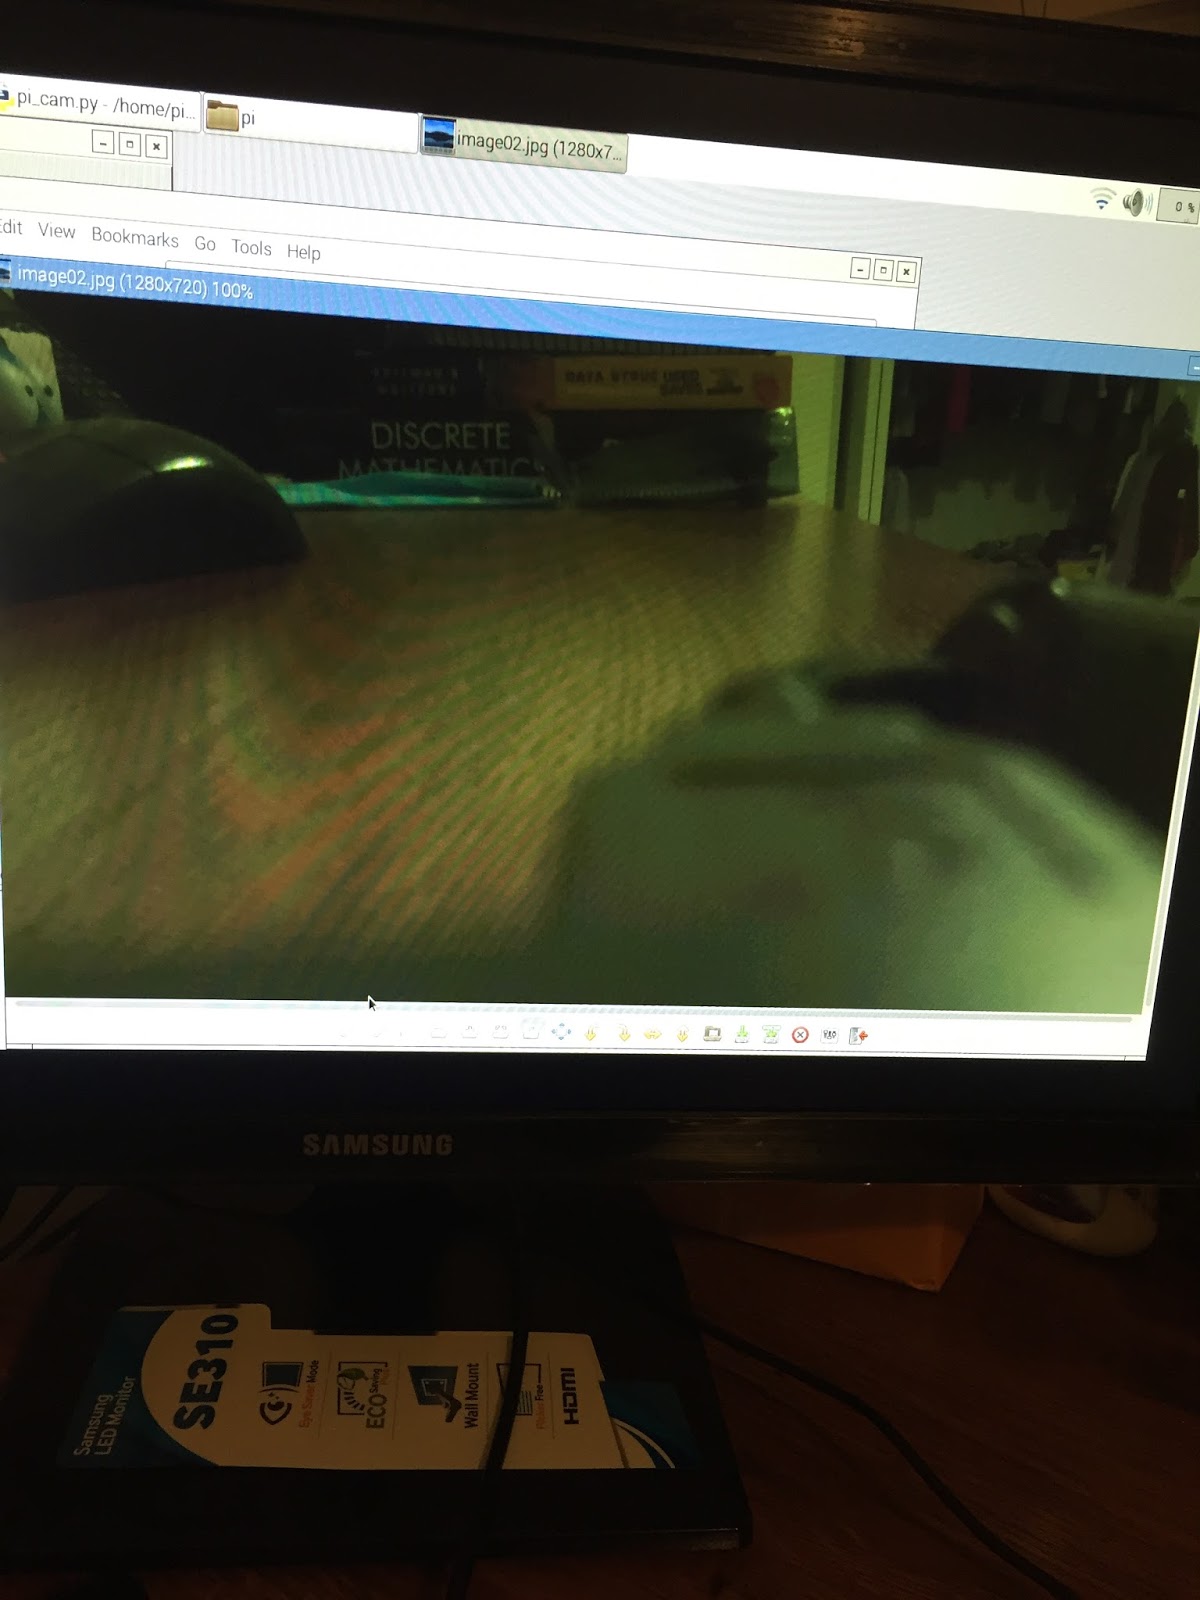
I wrote a program in python that streams the video on the monitor and also takes the number of images users enters and takes 15 seconds break between each pictures. You can also extend the break time.
--> My step is to live stream the video to my raspberry pi and the face detection.
My main intention to begin the blog is to keep track
of my goals and things while I am building a robot (Cisco95) that can be operated by using my laptop. It can be used as video
surveillance which gives the live stream on my laptop. It should also have a facial detection ability to.
My First steps:
I
bought a rover kit, a camera and a range finder sensor.
I
am going to implement the camera and make the rover move in the next
few days using the raspberry pi 2.
Rover kit: Small and inexpensive robot kit with a 30mm wide x 6mm high gap in the top support plate specifically for a RobotShop 3.7V, 1000mAh LiPo battery.
For my Morse code LED project I wrote a code using python in
raspberry pi that lets user enter a message in English and turns it into Morse
code and prints it out in the terminal. The code also lets the LED in the LED circuit
in the breadboard blink according to the Morse code.
The following is the GPIO pinout chart that helps wire GPIO
pins in the raspberry pi:
As soon as you connect your HDMI to the TV/monitor and insert your os installed MicroSD card into your pi you should see the following screen on your TV/monitor:
You can select the os of your choice and click on install. It takes few minutes to install and then the following screen appears:
The above screen is the graphic user interface, The default login for Raspbian is username pi with the password raspberry. After logging in the following desktop screen appears:
You can click on the LXTerminal and type the following commands in console:
sudo apt-get install rpi-update
sudo rpi-update
sudo reboot
After rebooting, type the following commands in console:
apt-get update
apt-get upgrade
The following are some of the basic commands:
list files in current directory: ls
list files (including hidden files) in current directory: ls -a
1.Begin by slotting your SD card into the SD card slot on the
Raspberry Pi, which will only fit one way.
2.Next, plug in your USB keyboard and Mouse into the USB slots on
the Raspberry Pi.
3.Make sure that your monitor or TV is turned on, and that you
have selected the right input (e.g. HDMI 1, DVI, etc)
4.Then connect your HDMI cable from your Raspberry Pi to your
monitor or TV.
5.If you intend to connect your Raspberry Pi to the internet, plug
in an Ethernet cable into the Ethernet port next to the USB ports, otherwise
skip this step.
6.When you are happy that you have plugged in all the cables and
SD card required, finally plug in the micro USB power supply. This action will
turn on and boot your Raspberry Pi.
7. My
MicroSD card is pre-loaded with NOOBS into it. If you don’t have a pre-loaded
MicroSD card then go to www.raspberrypi.org/help/noobs-setup
to set up. As i stated above I had NOOBS operating system(os) pre-loaded into my SD card but there are different operating systems in https://www.raspberrypi.org/downloads/ which you can try to download but NOOBS is an easy operating system installer compared to the rest.